


Last Updated on May 28, 2026 by Nurseslab.in Editorial Team
Designing a safe, visible, reliable kit that supports rapid care when every second counts
A first aid kit is more than a container of dressings. It is a small emergency system. When organised well, it allows the first responder to identify the right item quickly, protect the casualty and rescuer, and recognise when stock needs replacing. When organised badly, useful supplies may be hidden, expired, contaminated, incomplete, or impossible to find under pressure.
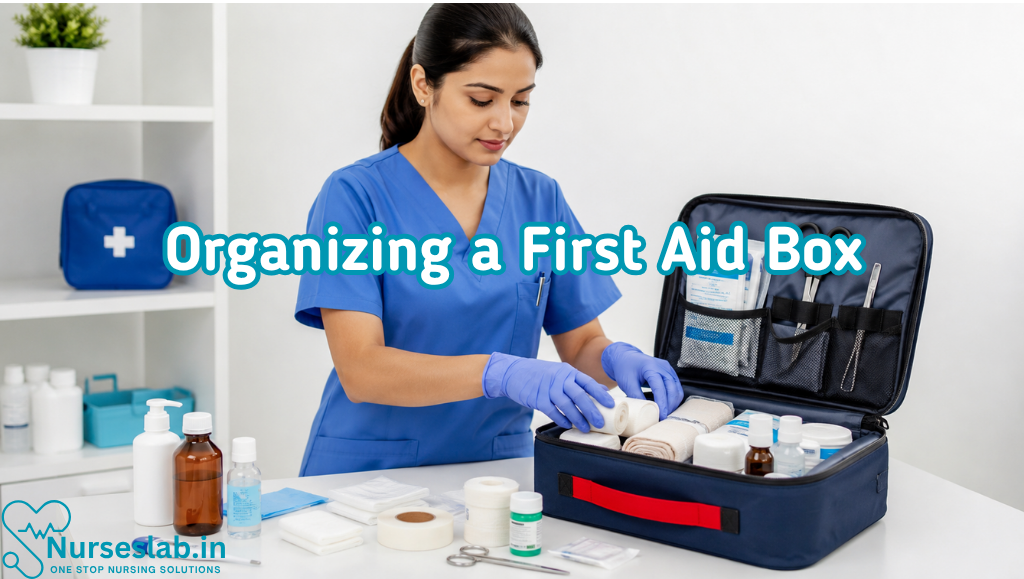
Nurses bring valuable skills to kit organisation: risk assessment, infection prevention, stock control, standardisation, documentation, and anticipation of clinical need. However, the kit must match its setting. A low-risk office, school, community clinic, care home, outreach vehicle, sports venue, construction site, and emergency department do not need identical contents. In UK workplaces, the contents should be based on a formal first-aid needs assessment rather than a universal shopping list.
This guide explains how to build and maintain an organised first aid kit. It should be used with local policy, risk assessments, infection-control procedures, medicines governance, manufacturer instructions, and current national requirements.
Step 1: Define the Purpose of the Kit
Start by writing a one-sentence purpose: “This kit provides immediate first aid for staff and visitors in a low-risk office,” or “This portable kit supports two nurses working at community events until ambulance care arrives.” A clear purpose prevents random accumulation of supplies and makes auditing easier.
Identify who owns the kit. An appointed person, first-aid lead, clinical manager, or named shift role should be responsible for checks, ordering, incident restocking, and escalation. Ownership must continue during leave, nights, weekends, and staff turnover.
Step 2: Complete a First-Aid Needs Assessment
The risk assessment determines both contents and quantity. Consider the number of people covered, work patterns, visitors, lone or remote workers, distance from emergency care, previous incidents, vulnerable groups, building layout, travel, and predictable hazards.
- Environment: office, kitchen, workshop, laboratory, vehicle, outdoor area, school, clinic, or home visit.
- Likely injuries: cuts, burns, eye contamination, falls, crush injury, needlestick exposure, sports injury, or life-threatening bleeding.
- Population: adults, children, older adults, pregnant people, individuals with disability, or known clinical risks.
- Access: response time of emergency services, mobile signal, locked doors, stairs, multiple floors, or isolated locations.
- Competence: what trained responders are authorised and equipped to do.
- Resilience: multiple casualties, shift coverage, large events, seasonal demand, and supply disruption.
Do not add specialised equipment merely because it appears useful. A device that requires training, maintenance, calibration, or governance can create false reassurance when those systems are absent. Conversely, if assessment identifies a foreseeable high-risk injury, a basic low-risk kit may be inadequate.
Step 3: Choose the Right Container
Select a container that is durable, cleanable, clearly marked, and easy to carry or open. Internal dividers should remain secure when transported. Transparent pouches or labelled compartments improve visibility. The closure should protect supplies from dust, moisture, and tampering without delaying access.
For a wall-mounted kit, confirm that its location is visible and reachable. For a grab bag, consider weight, handles, waterproofing, and whether it can be opened safely on the ground. Avoid containers that resemble medication bags if this could cause confusion.
Step 4: Build a Core Contents List
For a typical low-risk workplace, core supplies commonly include general first-aid guidance, individually wrapped sterile plasters in assorted sizes, sterile eye pads, triangular bandages, safety pins, medium and large sterile unmedicated dressings, and disposable gloves. Use the needs assessment and organisational policy to determine quantities and additional items.
Common supplementary items include sterile gauze, adhesive tape, conforming bandages, dressing pads, cleansing wipes, foil blankets, resuscitation face shields, blunt-ended shears, saline eyewash where mains water is unavailable, and approved burn dressings. Each item should have a defined purpose. Remove duplicates that add clutter without improving capacity.
Step 5: Exclude Unsuitable Items
A standard workplace first aid box should not become an informal medicines cupboard. Tablets, creams, antiseptic solutions, and other medicines create risks involving allergy, interactions, administration authority, storage, expiry, consent, and documentation. If a service legitimately holds medicines for emergencies, they require a separate governed system with authorised access, approved protocols, secure storage, and clear records.
Remove loose cotton wool for wound care, opened packs, damaged or stained products, unlabelled liquids, rusty scissors, excessively adhesive tape, improvised sharps, and obsolete equipment. Avoid latex products where safer alternatives are available and policy specifies them. Never return a used item to the kit.
Step 6: Organise by Clinical Function
Arrange items in the order they are most likely to be needed. A practical layout uses functional modules rather than product names. The responder should be able to open the kit and move directly to the relevant group.
- Personal protection: gloves and resuscitation barrier at the top or outside pocket.
- Bleeding and wounds: sterile dressings, gauze, bandages, plasters, and tape together.
- Eye care: eye pad and eyewash adjacent, if indicated.
- Burn care: approved burn dressing and clear cooling instructions.
- Support and immobilisation: triangular and conforming bandages.
- Exposure and comfort: foil blanket.
- Tools: shears and safety pins in a pocket that prevents injury.
- Information: inventory, first-aid guide, emergency contacts, check log, and incident-restock card.
Use consistent colours only if staff are trained in the system. Never depend on colour alone; include plain-language labels and, when possible, simple pictograms. Place high-use and time-critical items in front. Heavy supplies belong lower down so they do not crush sterile packs.
Step 7: Label Clearly
Label the outside as first aid and identify the area or vehicle to which it belongs. Inside, label each compartment with the clinical purpose and a short contents list. The main inventory should show standard quantity, current quantity, expiry date where relevant, reorder level, and date checked.
Add emergency numbers and precise location details, including postcode, building, floor, access codes, or landmark information as appropriate. Do not put confidential staff or patient information on the kit. If a tamper-evident seal is used, choose one that can be broken quickly and record the seal number during checks.
Step 8: Apply Infection-Prevention Principles
Store gloves where they can be reached before touching other contents. Check packaging integrity and avoid overfilling compartments, which can split sterile packs. Keep clean supplies separate from waste. Include a plan for clinical or contaminated waste disposal, but do not place used material back into the clean kit.
If the case becomes contaminated, remove it from service, replace exposed stock as required, and clean the reusable container with an approved product. Hand hygiene remains essential before and after care; gloves do not replace it. Follow local procedures after contact with blood or body fluids.
Step 9: Position the Kit Safely
Store the kit in a visible, dry, clean, temperate location that staff can reach quickly. Keep it away from direct sunlight, moisture, extreme heat or cold, chemicals, food contamination, children, and unauthorised access. Do not obstruct it with furniture or deliveries.
Map kit locations according to travel time, not convenience. A large building may need several smaller kits rather than one central box. Mobile and lone workers may require individual travel kits. Display signs, include locations in induction, and ensure emergency access outside normal hours.
Step 10: Set Expiry and Stock-Rotation Rules
Many sterile products carry expiry dates and must be replaced by the date shown. When a sterile item lacks a date, obtain shelf-life information from the manufacturer. Check non-sterile items for fitness for purpose, damage, contamination, brittleness, corrosion, and function.
Arrange stock so the earliest expiry is used first. Mark a forward replacement date several months before expiry, allowing time for procurement. Avoid writing directly over product information or obscuring batch numbers. Dispose of expired products through the appropriate waste stream rather than passing them to another kit.
Step 11: Create a Check Schedule
Check frequency should reflect risk and use. A practical system combines a brief visual check at defined intervals, an immediate check after every use, and a full periodic audit. High-use, public-event, clinical, remote, or high-risk kits may need more frequent review than a sealed low-risk office kit.
- Is the kit present, visible, accessible, clean, and dry?
- Is the seal intact, or has the kit been used?
- Do actual quantities match the inventory and reorder levels?
- Are sterile packs sealed and undamaged?
- Are expiry dates acceptable?
- Do shears, torch, or other approved reusable items function?
- Are labels, emergency contacts, and instructions current?
- Are incident forms or restock cards available?
- Has the check been dated, signed, and recorded?
Use one master checklist across comparable sites. Standardisation enables staff to locate items in an unfamiliar area and allows procurement teams to identify recurring shortages.
Step 12: Plan Immediate Restocking After Use
The kit is not operationally complete until it has been restored after an incident. Create a visible “used—requires checking” card or seal. The responder should record which supplies were used without including unnecessary patient details. The responsible person should replace items, clean the case if needed, verify contents, reseal it, and sign the log.
Maintain a small controlled reserve stock or an agreed rapid-ordering process. Avoid borrowing from another kit without documenting the transfer; that simply moves the shortage elsewhere.
Step 13: Add Specialist Modules Only When Indicated
A risk assessment may justify separately labelled modules for burns, eyewash, life-threatening bleeding, paediatric care, outdoor exposure, or sharps incidents. Separate modules avoid crowding the core kit and make specialist stock easier to audit.
Advanced haemorrhage-control equipment, oxygen, automated external defibrillators, airway devices, or emergency medicines require dedicated needs assessment, training, maintenance, consumables, governance, and post-use review. They should not be treated as ordinary first-aid-box contents. The presence of equipment never authorises an untrained person to use it.
Step 14: Train Staff to Use the System
An organised kit works only when staff know where it is and how to access it. Include kit location, appointed-person details, emergency-call procedure, incident reporting, and restocking arrangements in induction. First aiders should practise opening the kit, finding key items, and repacking it consistently.
Use short scenario drills: uncontrolled bleeding, an eye splash, a minor burn, or an unresponsive casualty. Observe not only clinical skills but also whether the responder can find supplies quickly. If everyone searches the same pocket, the layout needs improvement.
Step 15: Audit and Improve
Review incident records, near misses, response times, stock use, expired waste, and staff feedback. Ask whether supplies matched the actual injuries, whether the kit was easy to find, and whether any item failed. Update the needs assessment after changes to staffing, premises, processes, hazards, legislation, or service users.
Avoid responding to every incident by adding more stock. Sometimes the better solution is training, signage, environmental control, faster access to emergency services, or an additional kit location. Organisation should reduce complexity, not create a miniature storeroom.
A Model Layout
- Outer pocket: gloves, resuscitation barrier, emergency contacts, and quick guide.
- Top-left compartment: small wound supplies and plasters.
- Top-right compartment: medium and large sterile dressings.
- Middle compartment: gauze, tape, conforming and triangular bandages.
- Lower-left compartment: eye supplies.
- Lower-right compartment: burn supplies where risk-assessed.
- Base: foil blanket and bulky items.
- Secured tool sleeve: blunt-ended shears and safety pins.
- Lid insert: inventory, check log, and restocking instructions.
This is an example, not a mandatory standard. The best layout is one that matches local risk, can be understood at a glance, and is reproduced consistently across kits.
Common Mistakes to Avoid
- Buying before assessing: a prepacked kit may not match actual hazards.
- Overfilling: excessive stock hides essential items and damages packaging.
- Mixing medicines with dressings: this bypasses medicines governance.
- Storing out of sight: locked cupboards and unmarked bags delay care.
- Checking only expiry dates: quantity, integrity, cleanliness, access, and function matter too.
- Failing to restock after use: the next responder may find an empty compartment.
- Depending on memory: use an inventory and signed log.
- Allowing local variation without control: standardise comparable kits.
- Ignoring environmental damage: heat, moisture, and vehicle storage can shorten product life.
- Assuming equipment equals competence: training and governance are essential.
Frequently Asked Questions
How often should a first aid kit be checked?
There is no single interval appropriate to every setting. Base frequency on risk, use, and policy; always check promptly after an incident and replace expired or damaged items.
Should the kit be locked?
First-aid supplies must be quickly accessible. If local risk requires restricted access to specialist items, separate those items rather than delaying access to basic supplies. Emergency medicines require their own secure, governed arrangements.
Does a purchased kit have to meet a British Standard?
In the UK, a kit does not have to meet BS 8599 by law, although it can be a useful purchasing reference. The decisive requirement is that contents are appropriate to the needs assessment.
Can nurses add items they personally prefer?
Not informally. Suggestions should be reviewed through risk assessment, infection prevention, procurement, clinical governance, and training processes. Standardisation protects both responders and casualties.
Final Takeaway
An effective first aid kit is needs-led, simple, labelled, accessible, clean, complete, and regularly checked. Nurses can improve safety by treating organisation as a clinical system: define purpose, assess risk, standardise contents, group items by function, protect sterility, separate medicines, manage expiry dates, record checks, restock immediately, and learn from every use.
The goal is not to own the largest kit. It is to place the right supplies, in the right quantities, in the right location, for trained people to use without delay. When the layout is instantly understandable and the maintenance system is dependable, the first aid kit becomes what it should be: a trusted first response resource rather than a box of forgotten stock.
REFERENCES
- How to Organize a First Aid Kit, 22th April 2025, https://supply.mitti.com/us/blog/how-to-organize-a-first-aid-kit
- How to Organize a First Aid Kit: A Comprehensive Guide, https://www.senyangmedical.com/how-to-organize-a-first-aid-kit-a-comprehensive-guide/
Stories are the threads that bind us; through them, we understand each other, grow, and heal.
JOHN NOORD
Connect with “Nurses Lab Editorial Team”
I hope you found this information helpful. Do you have any questions or comments? Kindly write in comments section. Subscribe the Blog with your email so you can stay updated on upcoming events and the latest articles.


