


Last Updated on August 29, 2026 by Nurseslab.in Editorial Team
A practical guide to the detailed assessment that follows initial stabilisation
Introduction
Emergency nursing is built on priorities. When a patient arrives critically ill or injured, the immediate objective is not to establish every diagnosis; it is to recognise and treat threats to life. Once those threats have been addressed and the patient is sufficiently stable, the team moves to a more detailed stage of assessment: the secondary survey.
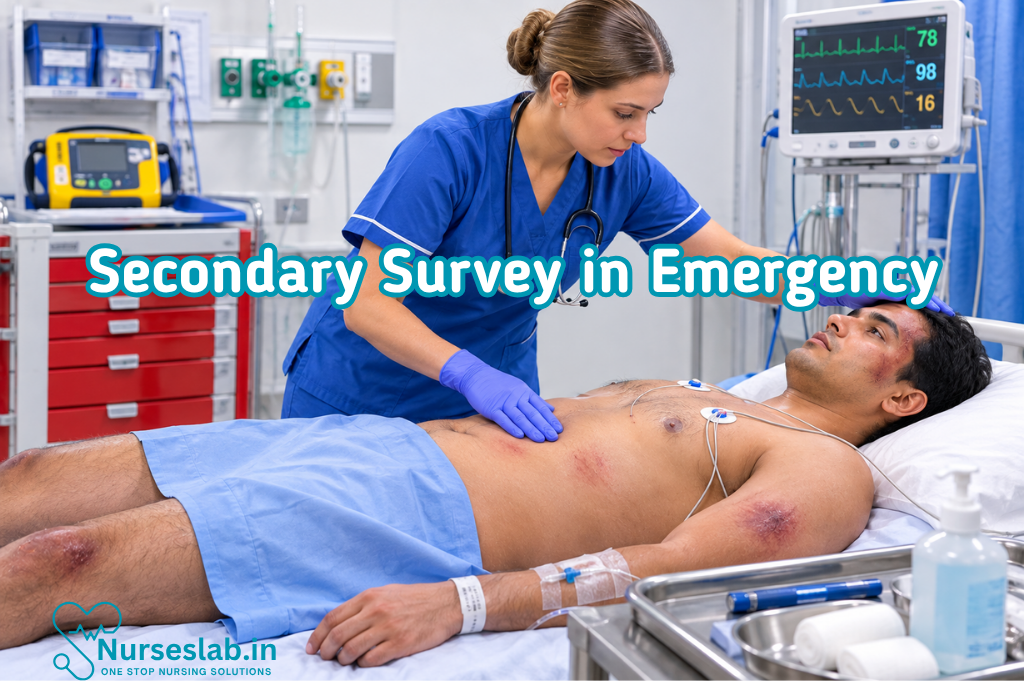
The secondary survey is a systematic, comprehensive examination intended to identify injuries, symptoms, and clinically important history that were not found during the initial life-saving assessment. In trauma care, it combines a focused history with a head-to-toe examination. In broader emergency nursing, the same principle supports a fuller evaluation of an acutely unwell patient after immediate airway, breathing, circulation, disability, and exposure problems have been managed.
Primary Survey Versus Secondary Survey
The primary survey uses a priority-based approach such as CABCDE in trauma: catastrophic haemorrhage, Airway with cervical-spine protection, Breathing, Circulation, Disability, and Exposure. Its purpose is to identify and treat conditions that may kill the patient within minutes. Assessment and intervention occur together; a problem is treated as soon as it is found.
The secondary survey asks a different question: what else is wrong? It is more detailed, but never more important than the primary survey. It begins only after immediate threats have been controlled and resuscitation is progressing. If the patient deteriorates at any point, stop and return immediately to the primary survey. Reassessment always outranks completion of a checklist.
When Should the Secondary Survey Begin?
Begin when the primary survey has been completed, life-threatening problems have been treated or are actively controlled, monitoring is established, and the team leader judges that the patient can tolerate a detailed assessment. In multisystem trauma, some tasks may run in parallel: one clinician may continue resuscitation while another gathers history or inspects a limb. Parallel working requires clear leadership so findings are not missed or duplicated.
- Immediate airway, breathing, and circulation threats are controlled.
- Catastrophic external haemorrhage has been addressed.
- Monitoring, vascular access, and resuscitation measures are underway.
- The patient is stable enough for movement and a detailed examination.
- The team has agreed who will examine, document, and continue observation.
Do not delay urgent transfer to theatre, interventional radiology, imaging, or a higher level of care simply to finish every element. If the survey is incomplete, state this explicitly during handover and document which areas remain outstanding.
The Nurse’s Role
Nurses are central to the secondary survey. Depending on competence and local practice, responsibilities may include maintaining spinal precautions, monitoring observations and trends, exposing and re-covering the patient, obtaining an AMPLE history, assisting with or performing parts of the examination, checking wounds and devices, completing neurovascular observations, administering prescribed analgesia, collecting specimens, preparing for imaging, documenting findings, and escalating deterioration.
The nurse also protects the person behind the trauma. Explain what is happening, obtain consent where possible, preserve privacy, minimise heat loss, address pain, involve family appropriately, and adapt communication for age, culture, disability, language, or distress.
Start with a Focused History: AMPLE
The AMPLE mnemonic organises information that can alter immediate care. Gather it from the patient, family, witnesses, ambulance clinicians, records, or medical-alert information. Confirm uncertainty rather than guessing.
- A — Allergies: medicines, latex, dressings, contrast media, food, and the nature of the reaction.
- M — Medications: prescribed, over-the-counter, recreational, and recently administered drugs. Prioritise anticoagulants, antiplatelets, insulin, steroids, sedatives, and medicines affecting immunity or blood pressure.
- P — Past medical history: cardiac, respiratory, neurological, renal, hepatic, endocrine, bleeding, pregnancy-related, surgical, and anaesthetic history. Include tetanus status where relevant.
- L — Last meal: what and when the patient last ate or drank, because urgent anaesthesia or procedural sedation may be required.
- E — Events and environment: mechanism, time of injury or onset, symptoms before the event, speed, height, restraints, ejection, weapons, loss of consciousness, seizure, entrapment, smoke or chemical exposure, and pre-hospital interventions.
Preparing for the Head-to-Toe Examination
Before beginning, confirm monitoring, vascular access, prescribed analgesia, equipment, lighting, staffing, and the plan for movement. Explain the assessment to the patient. Expose one region at a time, maintain dignity, and actively prevent hypothermia. Keep spinal alignment where indicated, and coordinate any log roll with a named leader.
Use a consistent sequence so no body area is omitted. Inspect, palpate, compare sides, assess function, and document abnormalities. Check gloves for blood after palpating areas that cannot be seen. Review every tube, drain, splint, dressing, catheter, and access site.
Head and Scalp
Inspect and gently palpate the scalp for bleeding, lacerations, swelling, tenderness, bogginess, foreign bodies, or deformity. Scalp wounds can bleed heavily and may be hidden by hair. Look for signs suggesting skull-base injury, such as bruising around the eyes or behind the ears, or fluid from the nose or ears, but do not delay escalation while trying to confirm a sign.
- Assess consciousness, orientation, behaviour, speech, and memory.
- Record pupil size, equality, and response according to local practice.
- Check limb movement and look for lateralising neurological signs.
- Record a Glasgow Coma Scale score when trained, including its components rather than only the total.
Consider how hypoxia, shock, intoxication, analgesia, sedation, hearing loss, language, and pre-existing neurological conditions may affect the examination. These factors should never be used to dismiss a new deterioration without clinical review.
Face, Eyes, Ears, Nose, and Mouth
Look for asymmetry, bruising, swelling, wounds, tenderness, deformity, malocclusion, dental injury, bleeding, or an unstable facial structure. Assess eye movement and vision when possible, pupil size and reactivity, and obvious ocular injury. Do not place pressure on a suspected globe injury.
Check the mouth for blood, vomit, loose teeth, dentures, burns, swelling, or airway contamination. Note fluid or blood from the ears or nose. Maintain suction readiness when contamination may recur.
Neck and Cervical Spine
Maintain cervical-spine precautions according to the mechanism, examination, and local clearance pathway. Inspect for wounds, bruising, swelling, seat-belt marks, tracheal deviation, surgical emphysema, and distended neck veins. Ask about pain, numbness, weakness, or altered sensation. Palpation should be gentle and should not cause unnecessary movement.
Voice change, stridor, increasing swelling, expanding surgical emphysema, or difficulty managing secretions may indicate evolving airway compromise. Escalate early and prepare for specialist airway intervention within local protocols.
Chest
Reassess respiratory rate, oxygen saturation, work of breathing, chest expansion, wounds, bruising, tenderness, deformity, crepitus, and air entry. Inspect the front, sides, and axillae; auscultate comparable areas and include the back when safe. Note heart sounds and monitor rhythm where indicated.
Even after an apparently normal primary survey, pulmonary contusion, pneumothorax, haemothorax, rib injury, or another thoracic problem may evolve. Worsening breathlessness, unilateral reduction in air entry, increasing oxygen need, hypotension, or new chest asymmetry requires an immediate return to ABCDE and urgent escalation.
Abdomen
Inspect for bruising, abrasions, distension, wounds, seat-belt marks, or evisceration. Palpate gently for tenderness, guarding, rigidity, or masses according to competence. A soft abdomen does not exclude serious internal injury, particularly early after trauma, in older adults, during pregnancy, or when consciousness is reduced.
Observe for referred shoulder pain, worsening shock, increasing abdominal girth, or unexplained agitation. Cover exposed organs with an appropriate sterile moist dressing according to policy; do not push them back into the abdomen.
Pelvis, Perineum, and Genitourinary Assessment
Inspect for bruising, bleeding, swelling, asymmetry, wounds, and blood at the urinary opening. Ask about pelvic pain and ability to pass urine. Avoid repeated springing or compression of the pelvis; it may disrupt clot formation and worsen bleeding. If a pelvic binder is present, check its position, skin, pressure areas, and distal circulation without unnecessary removal.
- Explain intimate assessment and seek consent where possible.
- Use privacy, a chaperone, and trauma-informed communication.
- Preserve forensic evidence where assault is suspected.
- Follow safeguarding and specialist referral procedures.
- Remember that rectal or vaginal examinations are not routine for every trauma patient.
Further examination should be clinically indicated and performed by an appropriately trained practitioner in accordance with local policy.
Limbs and Neurovascular Status
Examine each limb for wounds, swelling, bruising, tenderness, deformity, shortening, rotation, abnormal movement, or tissue loss. Assess circulation, sensation, and movement distal to any injury. Record pulses, capillary refill, skin temperature and colour, motor function, and sensation before and after splinting or repositioning.
Watch for compartment syndrome: severe or escalating pain, pain with passive stretch, tense swelling, altered sensation, weakness, or deteriorating perfusion. Pulses may remain present until late. Escalate concern immediately and check that dressings or splints are not excessively tight.
Back and Posterior Surfaces
Inspect the back, buttocks, posterior limbs, and spine for bleeding, wounds, bruising, burns, tenderness, deformity, or pressure injury. Use a coordinated log roll when indicated, with one person controlling the head and giving commands. Secure lines, drains, splints, monitoring cables, and the airway before movement.
Do not turn an unstable patient simply to complete the checklist. Balance the risks of movement against the need to identify hidden haemorrhage or injury, and follow the trauma leader’s plan.
Neurological Reassessment
Repeat the neurological assessment after the examination and whenever the condition changes. Record consciousness, pupils, speech, orientation, memory, lateralising signs, limb power, sensation, and seizure activity. Trend observations rather than relying on one score.
Document sedatives, analgesics, intoxication, hypoxia, shock, language barriers, or pre-existing impairment that may affect interpretation. A new fall in consciousness, pupil change, weakness, or seizure requires immediate reassessment and escalation.
Investigations and Adjuncts
Investigations are guided by mechanism, examination, physiology, age, pregnancy status, and local pathways. They may include blood tests, blood group and crossmatch, blood gas analysis, ECG, urinalysis, pregnancy testing, point-of-care glucose, radiographs, ultrasound, and CT. The nurse prepares the patient, checks safety information, coordinates monitoring, and ensures that results are reviewed and communicated.
Imaging does not replace examination. Some injuries are clinically important despite not appearing on an initial scan, and patients may develop new signs later. Conversely, an unstable patient should not be sent to imaging without appropriate resuscitation, escort, monitoring, transfer planning, and an agreed destination.
Pain, Comfort, and Psychological Safety
- Outer pocket: gloves, resuscitation barrier, emergency contacts, and quick guide.
- Top-left compartment: small wound supplies and plasters.
- Top-right compartment: medium and large sterile dressings.
- Middle compartment: gauze, tape, conforming and triangular bandages.
- Lower-left compartment: eye supplies.
- Lower-right compartment: burn supplies where risk-assessed.
- Base: foil blanket and bulky items.
- Secured tool sleeve: blunt-ended shears and safety pins.
- Lid insert: inventory, check log, and restocking instructions.
This is an example, not a mandatory standard. The best layout is one that matches local risk, can be understood at a glance, and is reproduced consistently across kits.
Common Mistakes to Avoid
- Buying before assessing: a prepacked kit may not match actual hazards.
- Overfilling: excessive stock hides essential items and damages packaging.
- Mixing medicines with dressings: this bypasses medicines governance.
- Storing out of sight: locked cupboards and unmarked bags delay care.
- Checking only expiry dates: quantity, integrity, cleanliness, access, and function matter too.
- Failing to restock after use: the next responder may find an empty compartment.
- Depending on memory: use an inventory and signed log.
- Allowing local variation without control: standardise comparable kits.
- Ignoring environmental damage: heat, moisture, and vehicle storage can shorten product life.
- Assuming equipment equals competence: training and governance are essential.
Final Takeaway
An effective first aid kit is needs-led, simple, labelled, accessible, clean, complete, and regularly checked. Nurses can improve safety by treating organisation as a clinical system: define purpose, assess risk, standardise contents, group items by function, protect sterility, separate medicines, manage expiry dates, record checks, restock immediately, and learn from every use.
The goal is not to own the largest kit. It is to place the right supplies, in the right quantities, in the right location, for trained people to use without delay. When the layout is instantly understandable and the maintenance system is dependable, the first aid kit becomes what it should be: a trusted first response resource rather than a box of forgotten stock.
REFERENCES
- Gianola S, Bargeri S, Biffi A, Cimbanassi S, D’Angelo D, Coclite D, Facchinetti G, Fauci AJ, Ferrara C, Di Nitto M, Napoletano A, Punzo O, Ranzato K, Tratsevich A, Iannone P, Castellini G, Chiara O; Italian National Institute of Health guideline working group on Major Trauma. Structured approach with primary and secondary survey for major trauma care: an overview of reviews. World J Emerg Surg. 2023 Jan 4;18(1):2. doi: 10.1186/s13017-022-00472-6. PMID: 36600301; PMCID: PMC9814503.
- Lifrlogic, Secondary Survey in Emergency Care: Finding Hidden Injuries, Published on May 23, 2026, https://lifelogic.blog/secondary-survey-emergency-care-guide
- Emergency Care Institute, Secondary survey, Published: December 2023,https://aci.health.nsw.gov.au/ecat/adult/assessment/secondary-survey
Stories are the threads that bind us; through them, we understand each other, grow, and heal.
JOHN NOORD
Connect with “Nurses Lab Editorial Team”
I hope you found this information helpful. Do you have any questions or comments? Kindly write in comments section. Subscribe the Blog with your email so you can stay updated on upcoming events and the latest articles.


